Contact forms, newsletter forms, callback forms, demo request forms, consultation forms, lead forms, and even ebook download forms—all play a key role in lead generation. For many businesses, these forms represent the first interaction with a potential customer.
No matter what type of form you have on your website, tracking its performance is crucial. It’s not just about knowing how many forms are submitted or which channels drive the most submissions. Effective form tracking should provide lead-level insights, answering critical questions like: Which form submissions ultimately led to a sale?
Tracking form conversions in Google Ads does more than refine your ad strategy. It also uncovers key insights about user behavior, highlights friction points in the customer journey, and identifies the touchpoints that influence purchase decisions.
But how do you track form conversions in Google Ads? While there are countless guides available, many assume you have advanced knowledge of Google Tag Manager, event tracking, and coding.
In this article, we’ll simplify the process. We’ll walk you through two straightforward methods to set up form conversion tracking in Google Ads—no coding skills required!
Method 1: Track form conversions in Google Ads using Tag Manager
To follow this approach you need a Google Ads account and Google Tag Manager installed on your website. You will also need to perform several steps in your Google Ads account and Google Tag Manager. If you are looking for a more simple approach, skip to method 2, below.
Step 1: Create a conversion in Google Ads
Log in to your Google Ads account and click on Tools and Settings -> Conversions
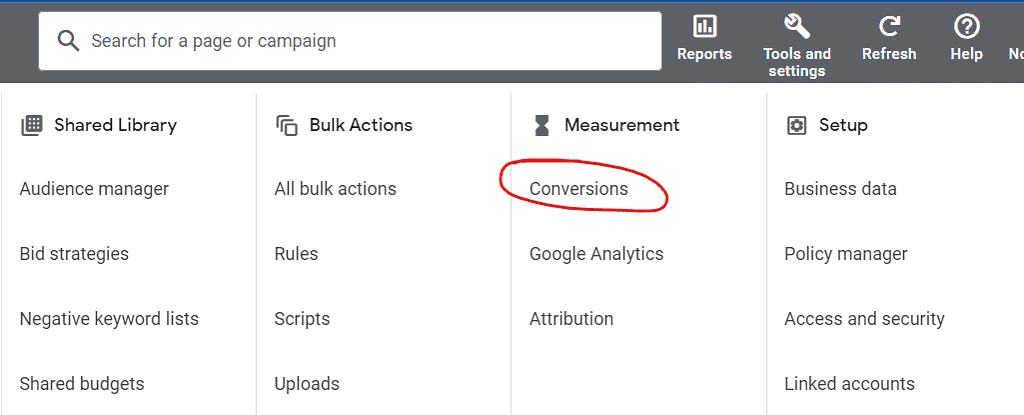
Click on the button labeled +New Conversion Action.
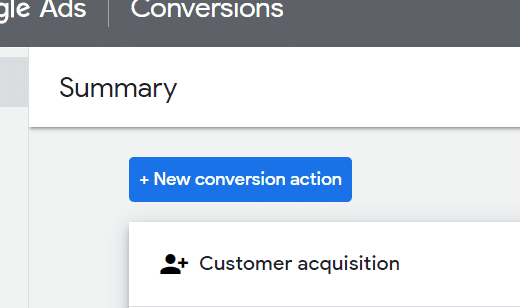
Choose Website

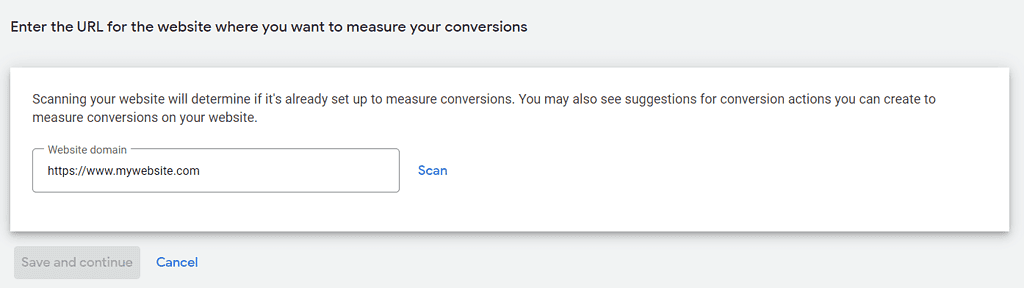
If you haven’t done so, enter the URL of your website and click Scan
Once Google Ads scans your website it will propose how to setup the conversion action. Scroll to the bottom and locate the section labelled Create conversion actions manually using code. Don’t worry, no code will be needed 🙂
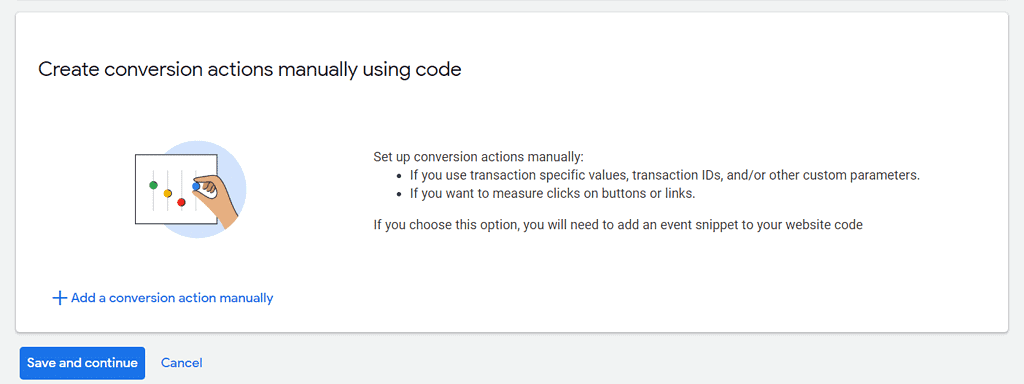
Click on Save and continue
On the next screen fill out the required fields as per the screenshot below. Tip: You can give your conversion whatever name you like. For the purposes of this tutorial I chose Form Submissions.
For the value field, either set an average value or chose the option that suits you best. In this example I set the value to $50, meaning that on average, each form submission from our website has this value for us.
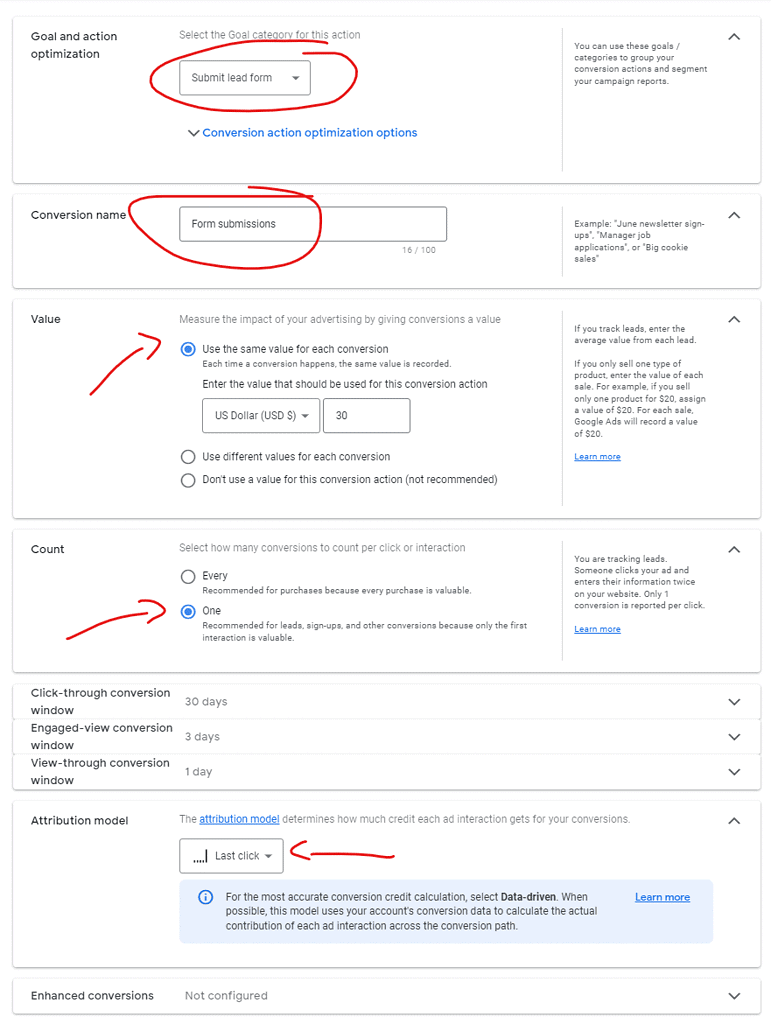
Click on Done and the next screen click Save and Continue.
On the next screen click on Use Google Tag Manager.
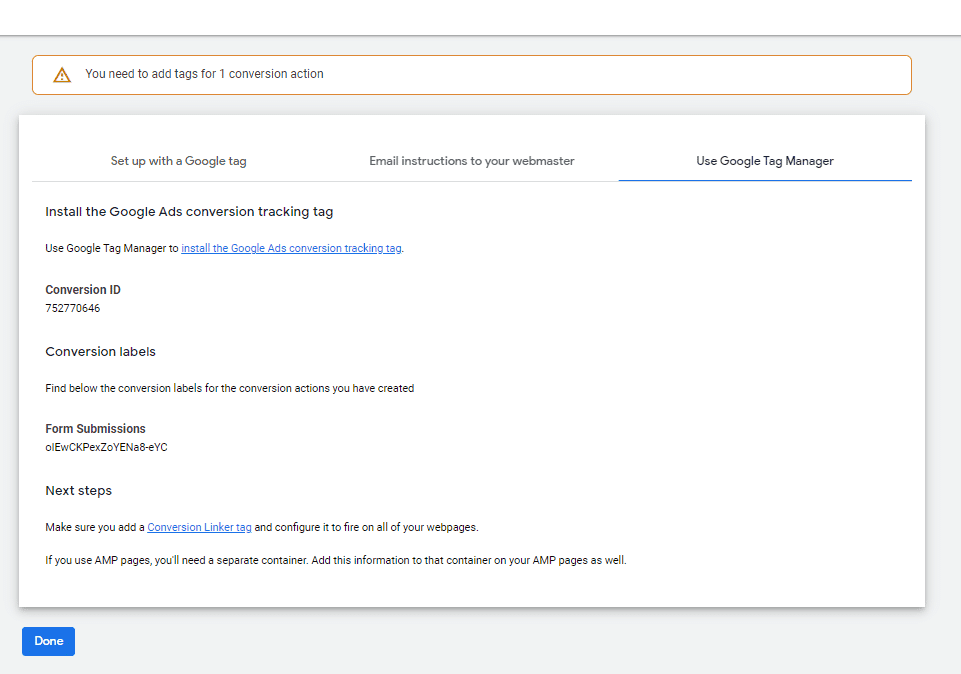
Important: Before you click Done, note the Conversion ID and the Form Submission conversion label.
Step 2: Create the tag in Google Tag Manager
Open a new tab and log in to Google Tag Manager.
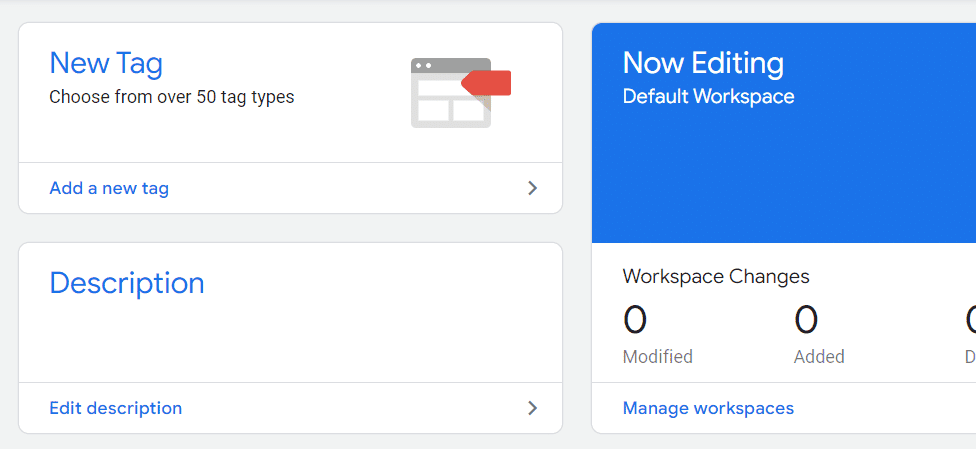
Click on Add a new tag
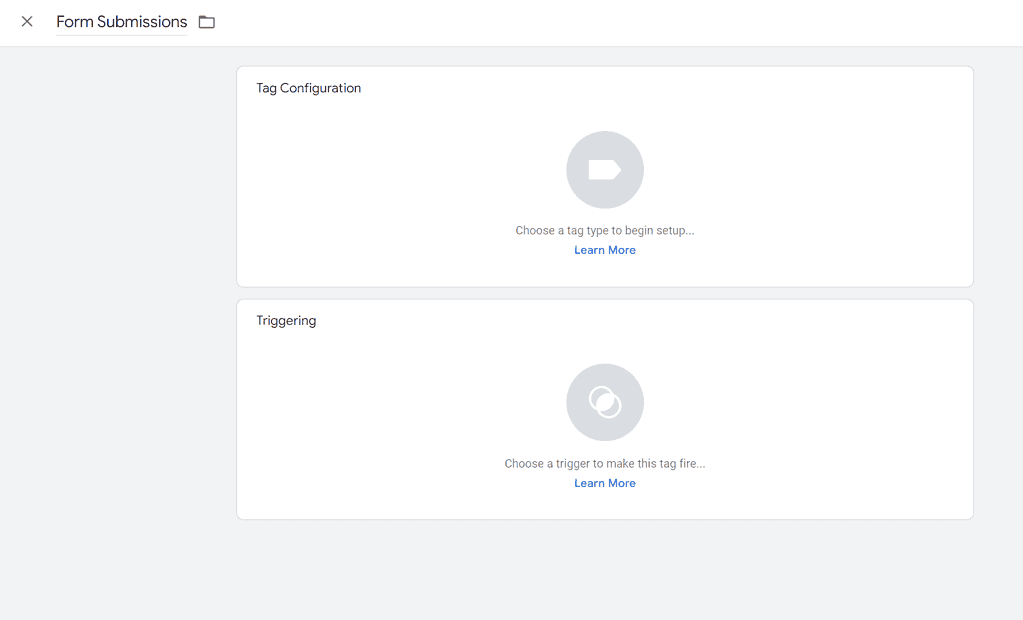
Give your tag a name and click on Tag Configuration.
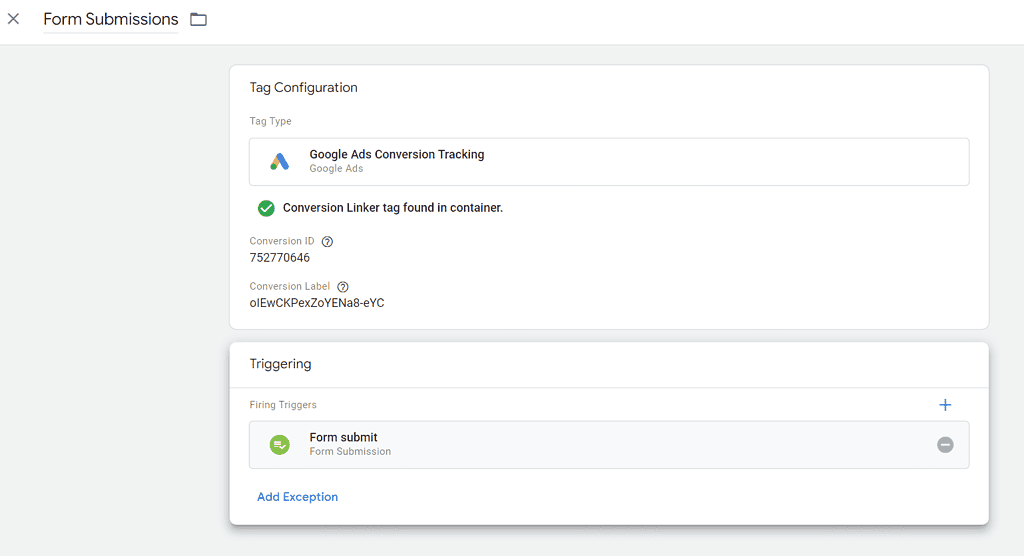
From the list on the right select Google Ads Conversion Tracking

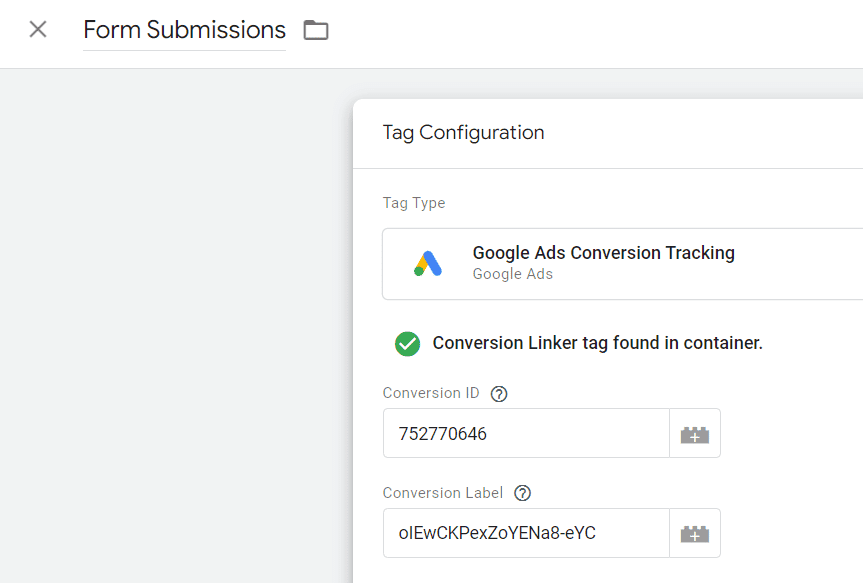
In the next window, you will get a prompt to install the Conversion Linker tag (if you haven’t already done so). This is a very simple process – simply click on the link button and Google will guide you. You should end up in the following screen.

Grab the conversion ID and label from your Google Ads account and add them. Leave all other fields as is.
Scroll down and click on Trigger.
This is where you set when the tag should fire. There are many options to choose from based on how you have set up the form (button click, thank you page, form ID, etc.). In most cases though selecting the Form submission type will work for you.
Under Choose Trigger locate the + sign on the right and click on it

Set a name for your new trigger and click on trigger configuration

Under Choose Trigger Type find and select Form Submission

Here you can set the trigger to fire on all forms or a form on a specific URL.
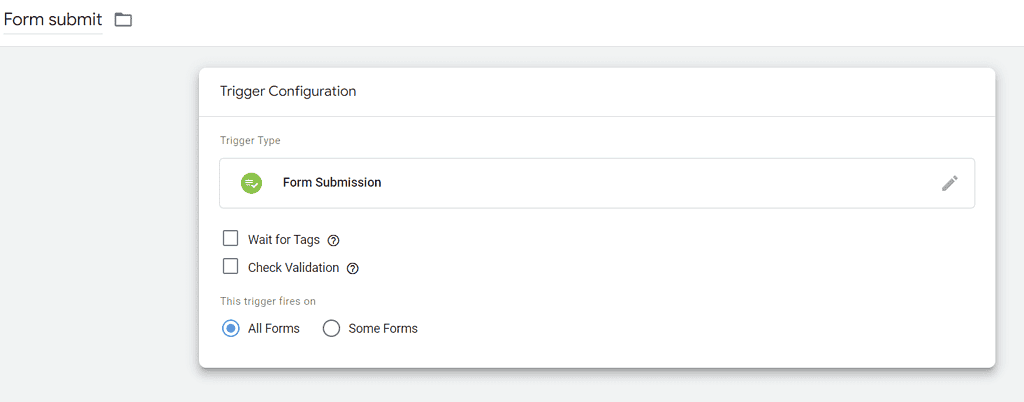
In this tutorial, I want to track form submission from the /demo page so I select Some forms, and URL path contains the demo.
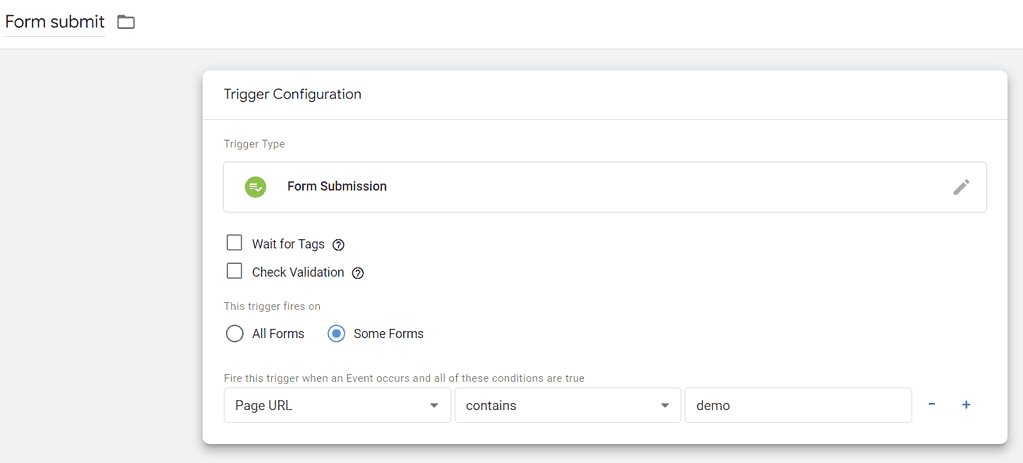
Click on Save. Your tag configuration should look like this:
Perform a final review and Save the tag.
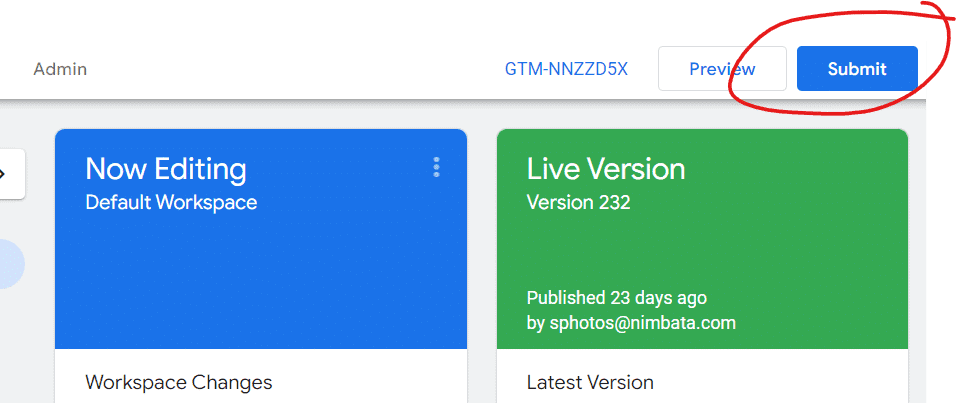
Step 3: Submit changes in the Tag Manager
From the home page on your Google Tag Manager click Submit.
Step 4: Test a form submission
That’s it! Now you can head over to your page and perform a test. Locate the form and perform a submission.
You should see this submission being tracked as a conversion in Google Ads.
Note: You may see the conversion you created marked as unverified. This means that Google hasn’t verified your tag yet, which usually takes up to 3 hours after someone visits your page containing the tag. To help speed this up, you can visit the page to trigger the tag yourself.

Method 2: Track form conversions in Google Ads using Nimbata
If you don’t feel comfortable using Google Tag Manager and the conversion linker to track form conversions in Google ads, there is another way to do so which only involves exporting form data from Nimbata and importing them to Google ads as offline conversions.
Let me show you how easy this is!
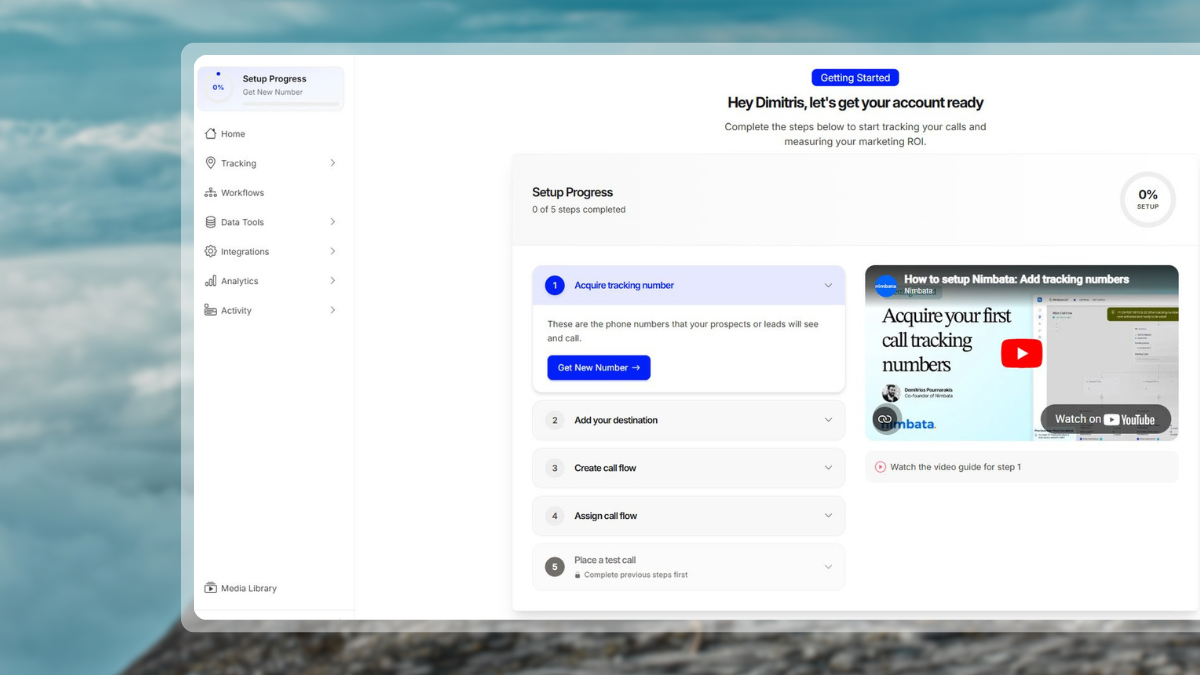
Step 1: Set up Form Tracking, and select the forms you want to track
By adding the Nimbata script on your website you also get form tracking along with tracking of calls!
From your Nimbata account, navigate to Tracking > Form Tracking.
Set Enable form tracking to ON. Set which pages you want Nimbata to track forms from and also (optional) from which visitors. In our case we only want to track form submissions from Google ads visitors so you can check Online Paid as a source.
On the same screen (and once form submissions start coming through) Nimbata will show you how many form submissions have been tracked and for which form

By hovering over each form you can access the raw data, by clicking on the view report button.

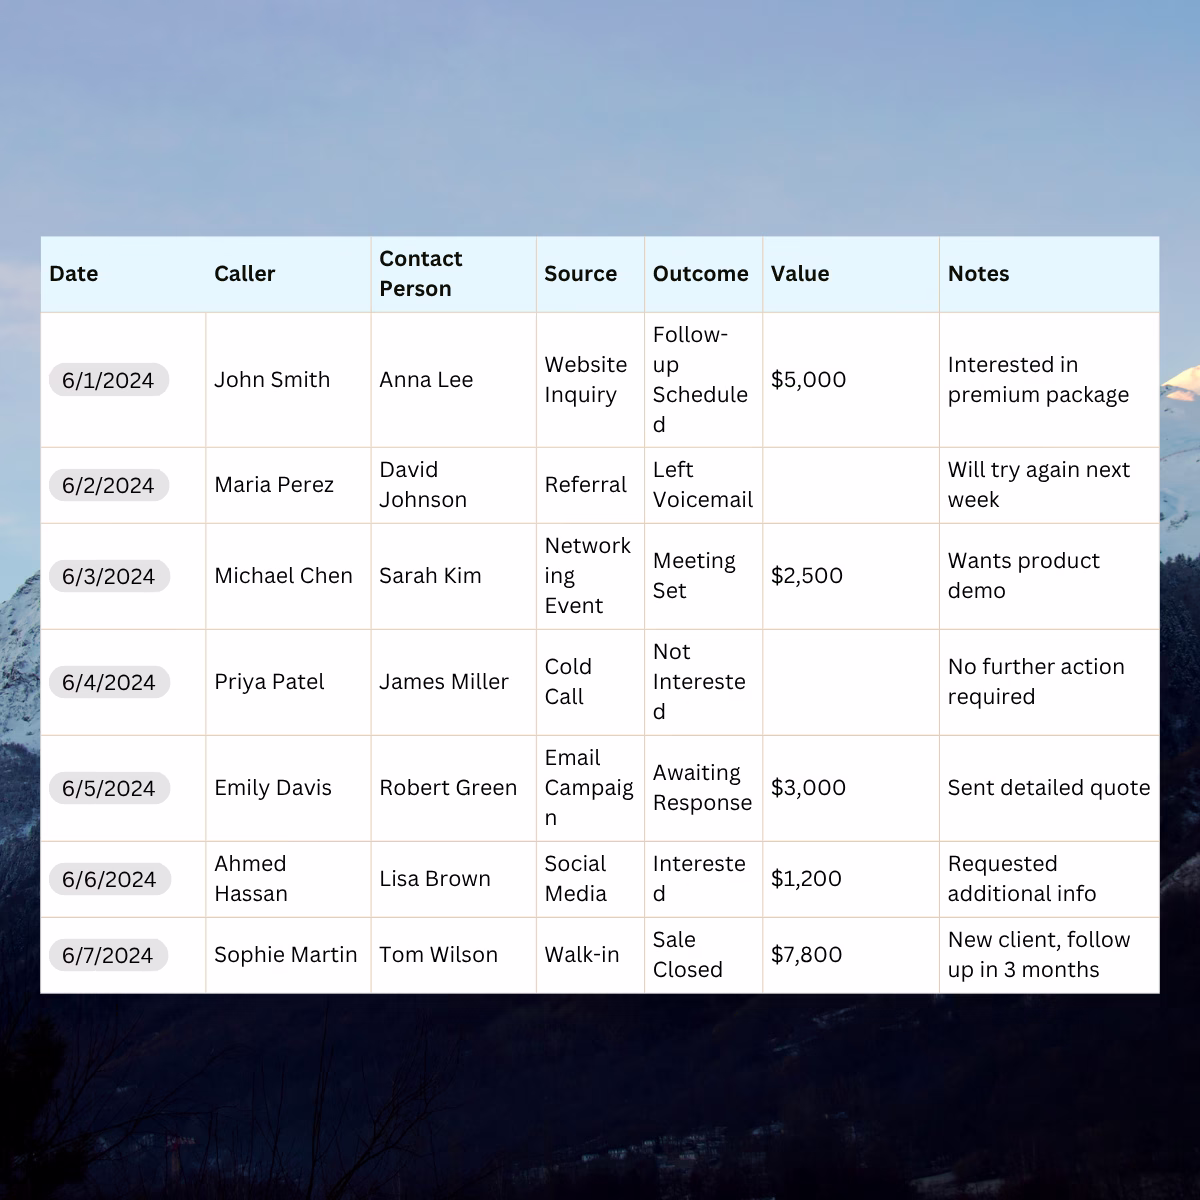
In the report, you will find all form submissions and the data from the forms, including the email, the date submitted and the landing page.
From the menu on the upper right click on export.
This will export all of your data to a CSV or Excel file.

Step 2: Automatically push form tracking data to your Google Ads Account
From the menu, select Automations. This will open our Automation Builder, which lets you automatically push form conversions back to your Google Ads.
Now, here’s the fun part. If you want to track all form submissions under a single conversion action, that’s easy to do. However, if you have multiple forms—like a Contact Form, an Event Registration Form, or a Quote Request Form—you might want to set up separate conversion actions for each. This helps you better organize and analyze your data.
The Automation Builder makes tracking multiple form conversions much more straightforward than using GTM.
Let’s start by creating one action for all lead forms, and then we’ll move on to the exciting part.
Creating one conversion to count different lead forms
To do this, simply select the “Form Submitted” trigger, and under “Do This,” choose the conversion action you just created in your Google Ads account.

Creating separate form conversions to track lead forms individually
To do this, start by creating separate conversion actions in your Google Ads account for each form on your website (refer to Method #1, Step #1). Repeat this process for as many forms as you want to track. Once you’ve set up the conversion actions, return to your Nimbata account and navigate to Automations.
Next, we’ll create individual automations for each conversion action.
Each automation will correspond to one specific conversion action.
The key difference in this step is adding a filter to distinguish submissions based on the form name.
Let’s say you have a contact form and a demo form, here’s how your setup should look like.

If you need help to import form conversions in Google Ads, we have your back.
Takeaway
Tracking form conversions is a critical aspect of optimizing your Google Ads campaigns. By monitoring the data from form conversions, you can get a clearer picture of how your ads are performing in terms of generating leads or sales.
This information can help you make informed decisions about where to allocate your budget and optimize your ad campaigns to focus on the keywords and ad copy that are driving the most conversions.
Additionally, tracking form conversions in Google Ads can help you measure the ROI of your ad spend and make data-driven decisions about your ad campaigns. With the right tracking tools and strategies in place, you can make informed decisions that lead to better ad performance and more successful campaigns.